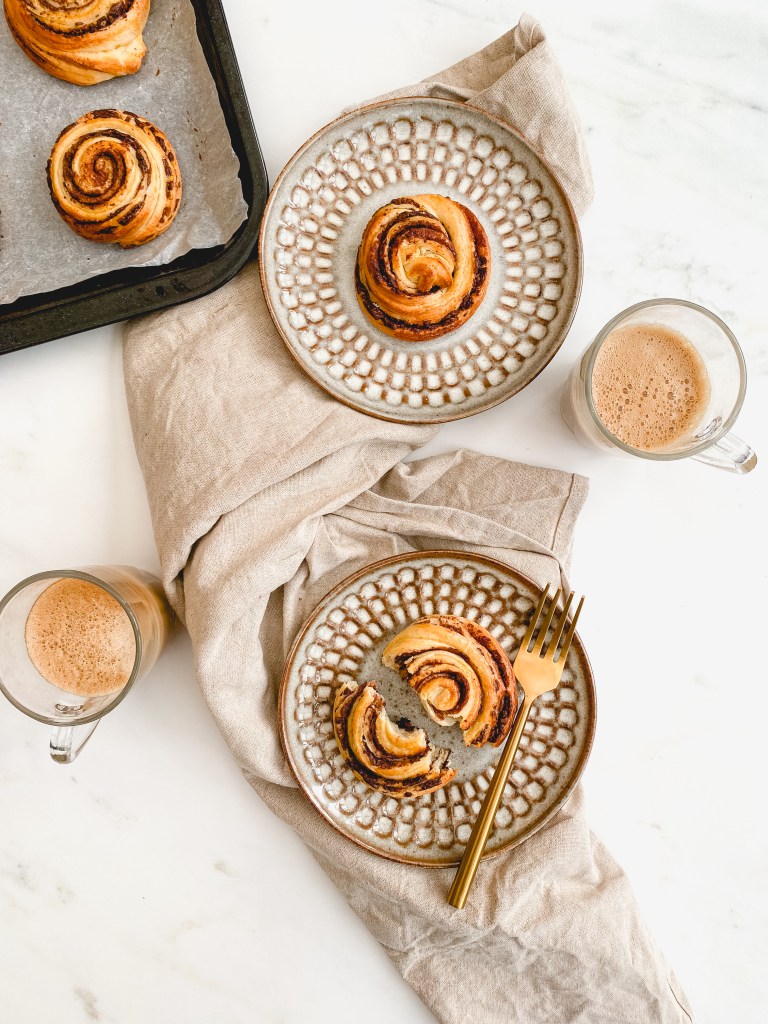
These will make your morning so much better!
Another week, another dough related recipe. As you you know, I am obsessed with bread and the whole process of making it and I keep trying to find different ways of playing around with it and using it, basically because anything dough-y is SO GOOD!
So this week, I decided to give it another go by making these swirl buns with dark chocolate, because let’s be honest, it’s the best combination ever.
Working with yeast…
The dough to make these buns is the same that I have used a million times for other different breakfast buns and bread and it’s super easy to make.
I was having a read online the other day and saw that some people are quite nervous about working with yeast, to be honest, I always get that nervous feeling every time I work with yeast and make dough, like, I am always wondering whether or not the dough is going to rise, but the thing is, it always does!
I recently have started using dry instant active yeast which I put straight into the yeast and with all the dry ingredients and I have found that this yeast is works so much better for me, but this required practice, so I would advise that if you are nervous about it, you can try both types of yeast (so the one I use and the one you have to activate) and see which one works better for you.
About rising the dough
Another thing that I find quite controversial. Some of us, and I say us!, are very impatient and want the dough to be big and fluffy straight away, unfortunately, that is not the way to go. You have to leave the dough to rise and be patient. The waiting time is really varied and depends on very, very different factors, the main factor is temperature, so the hotter it is in the room your dough is resting in, the quicker it will rise, so even though some recipes tell you to leave the dough for an hour, sometimes you need more time, and that should no make you panic, I actually tend to leave mine for about 2 hours. Please do note that you can leave it overnight, but if you do that, you really need to put your dough in the fridge!
With regards to how many time to rise the dough, I always do it at least twice, the first time in a bowl ball shaped and the second time once it has the shape of what it is that I am making.
Ok, now that we have these principles clarified and in place, let’s talk about these deliciousness!
This is how I made them
All you need to make these is: flour, sugar, milk, butter, yeast, salt and chocolate.
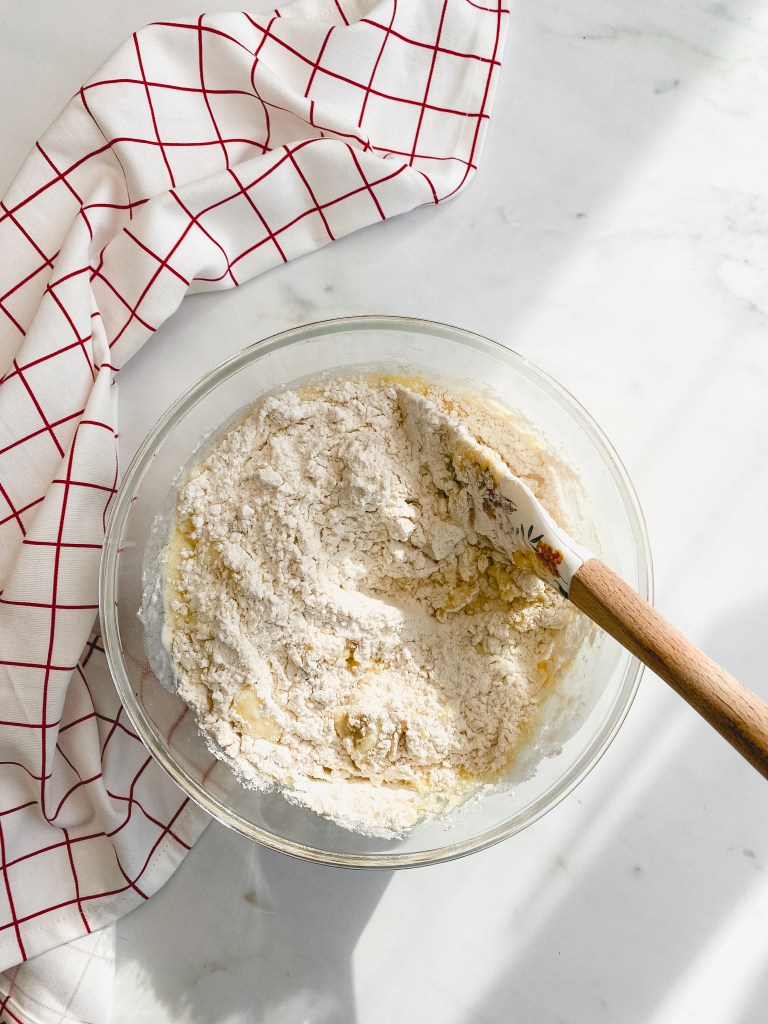
The first step is to melt the butter in the milk by warming it up. Then, leave it aside for a few minutes to cool down slightly. While that happens, mix the dry ingredients. The, pour the wet ingredients into the dry ones and mix them until you have a dough, knead the dough on a floured surface for about 5 minutes.


Grease a bowl with a bit of olive oil and leave the dough to rest and rise for at least one hour, until doubled in size. Just before it’s ready, melt the chocolate and leave it to cool down for a few minutes.
Once risen, roll the dough into a floured surface and with a rolling pin make a rectangular shape. Start spreading the chocolate on the dough, leave some space in all the edges of the dough.


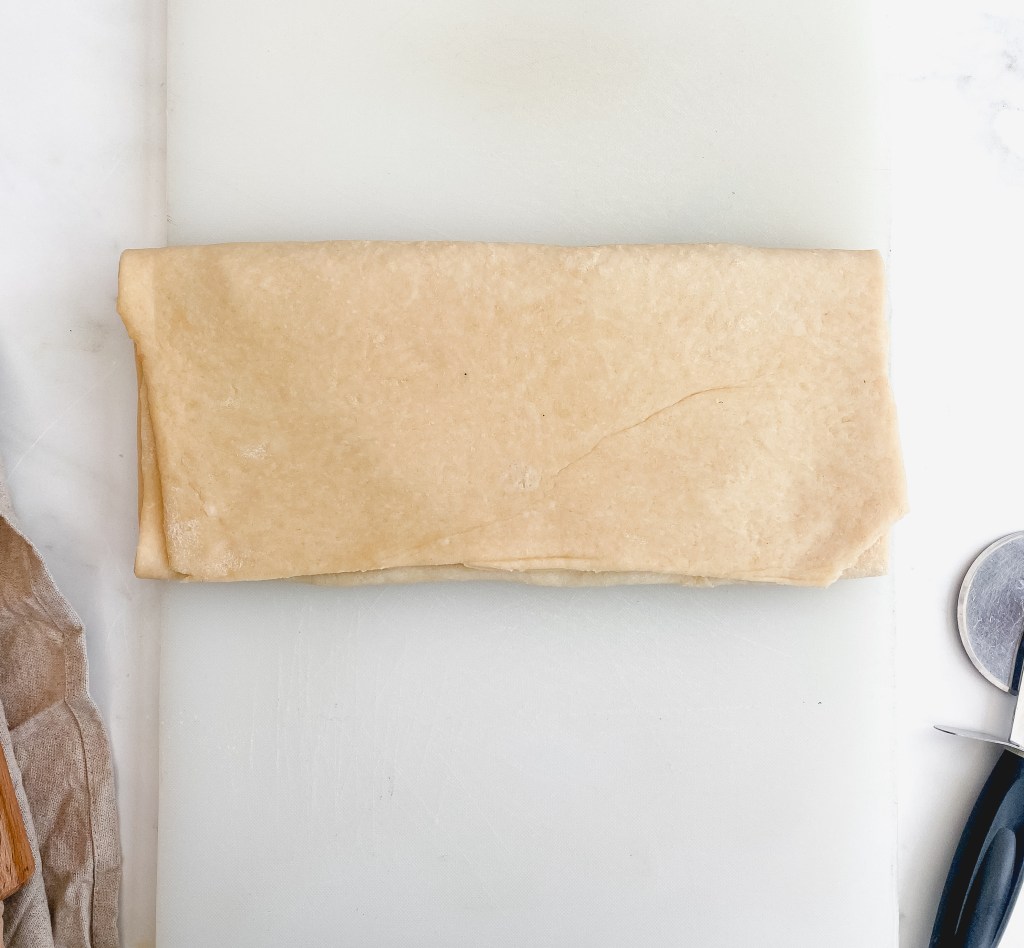
Now fold the dough, take the bottom side (the one closer to you) and take it to the middle of the rectangle, then do the same with the top side (the one furthest away from you) and fold it on top of the side you just folded, so it will look a bit like an envelope. Then roll it again until you have a rectangle.
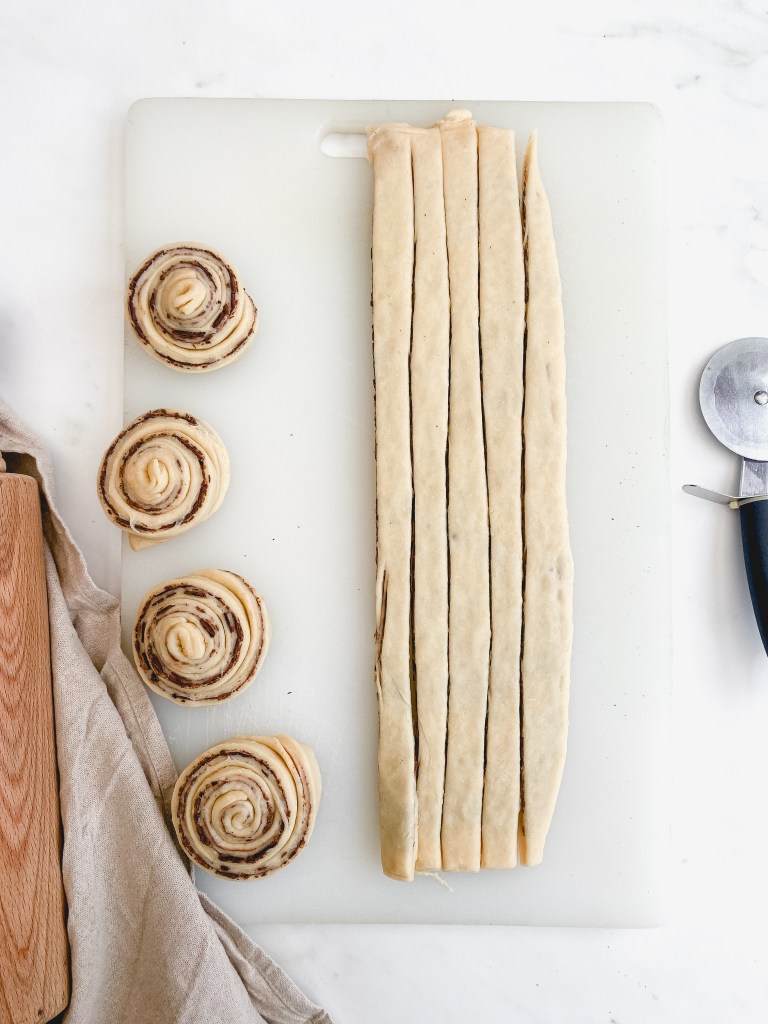
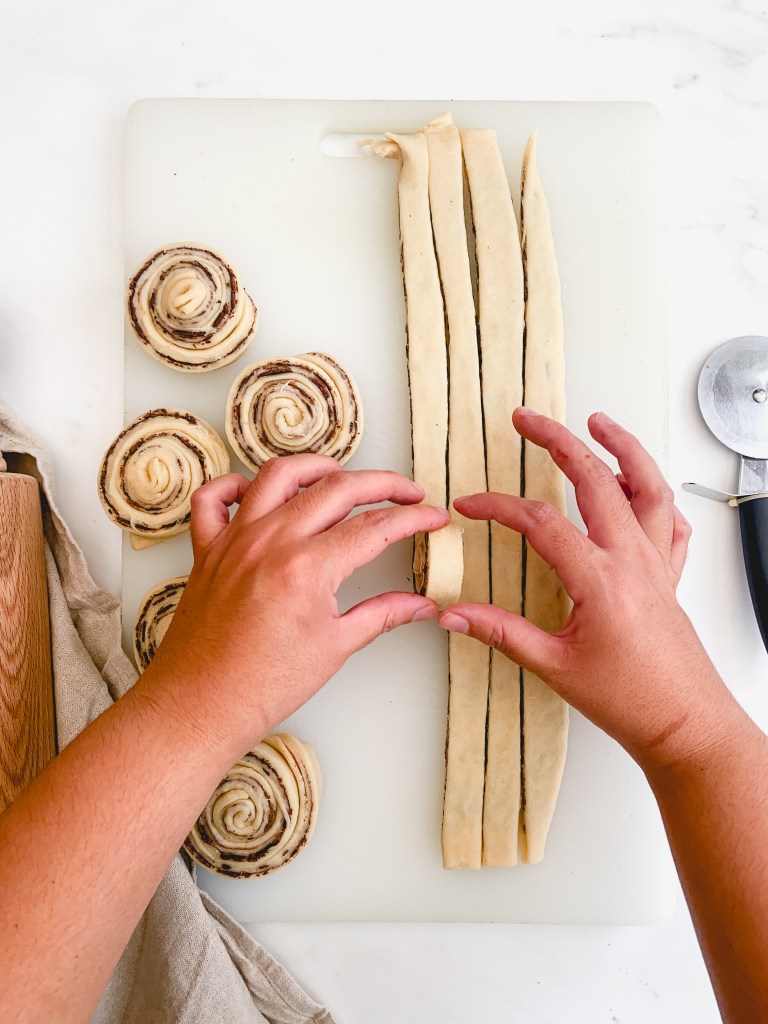
Once you have the rectangle, place it vertically and use a pizza cutter or a knife start by cutting all the sides around the rectangle (top, bottom, left and right) and then to cut long strips which should have the width of your index. Try doing it as straight as you can, but as you can see, I am not the best at cutting in straight lines!

Now roll each strip of the dough on itself until you have a lovely circle. Hide the last bit of the dough strip underneath and leave it to rise for another one.

Preheat the oven at 170 degrees celsius, brush the rolls with a mix of egg yolk and milk and cook in the oven for 15-18 minutes until they are lovely and brown, leave them to cool and enjoy!

… and enjoy!
Dark Chocolate Swirl Morning Buns
Ingredients (makes 9-10 buns):
- 500 gr of bread flour
- 60 gr of butter
- 260 ml of milk
- 15 gr of instant dry active yeast
- 100 gr of sugar
- A pinch of salt
- Olive oil (for greasing)
- 100 gr of chocolate melted
- 1 egg yolk + a splash of milk for the egg wash
Process:
- Warm up the milk and melt the butter inside of it. Once melted, leave aside for a couple of minutes to cool down slightly.
- In the meantime, mix the dry ingredients (not including the chocolate).
- Add in the warm milk and butter to the dry ingredients and mix well until you have a dough. Knead the dough for about 5 minutes on a floured surface, grease a bowl with olive oil, but the dough inside and then leave it to rise for about an hour or until doubled in size.
- Once the dough is almost ready, melt the chocolate and leave it aside just for a few minutes.
- While this is happening, flour a surface and roll the dough into a vertical rectangular shape.
- Spread the chocolate over the rectangle, leave space without chocolate around the edges.
- Now, take the bottom side of the rectangle (the closest one to you) and fold it into the middle of the dough, then do the same with the top side so it folds just above the bottom folded one, so you have basically an envelope.
- Roll it again with a rolling pin until you have a rectangle again, place the rectangle vertically again with the short edge closer to you.
- Using a pizza cutter, cut all the edges of the rectangle and then cut the dough into strips that should be the width of your finger.
- The roll it on itself and hide the very last bit of dough underneath.
- Leave it to rise for another hour.
- Once risen preheat the oven at 170 degrees celsius, then mix milk and egg yolk and coat the buns and cook them in the oven for 15-18 minutes until they are nice and brown.
- Leave them to cool down and enjoy!
